The ‘middle line’ can be a powerful tool in composition. Here are 23 great examples in art, photography and film.
Via Twisted Sifter
Put all of the images you want on the contact sheet in one folder on your computer.


 |
| Image: iStock |
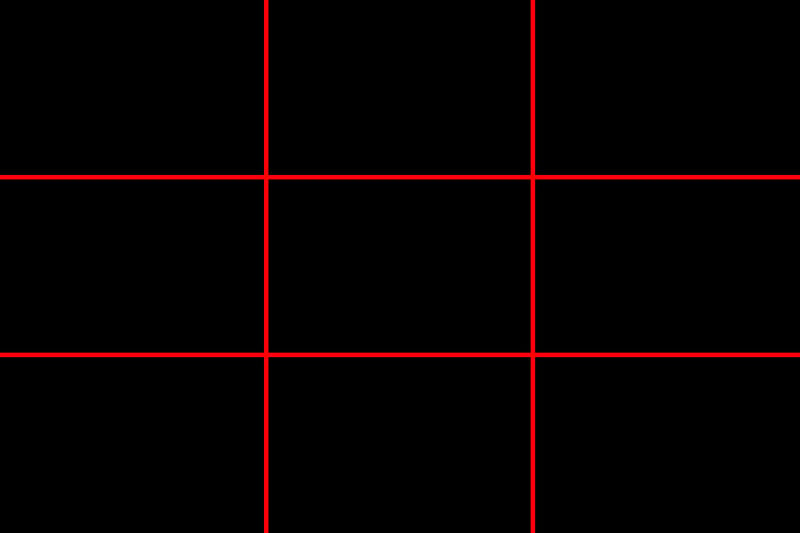
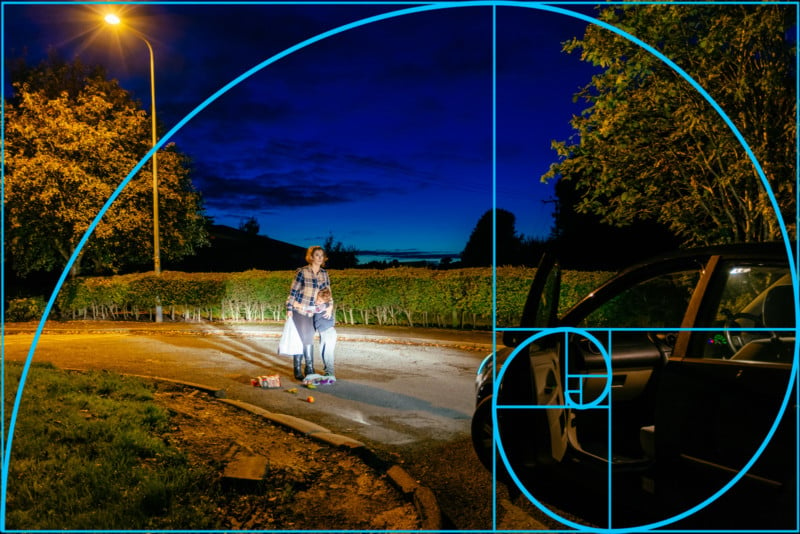
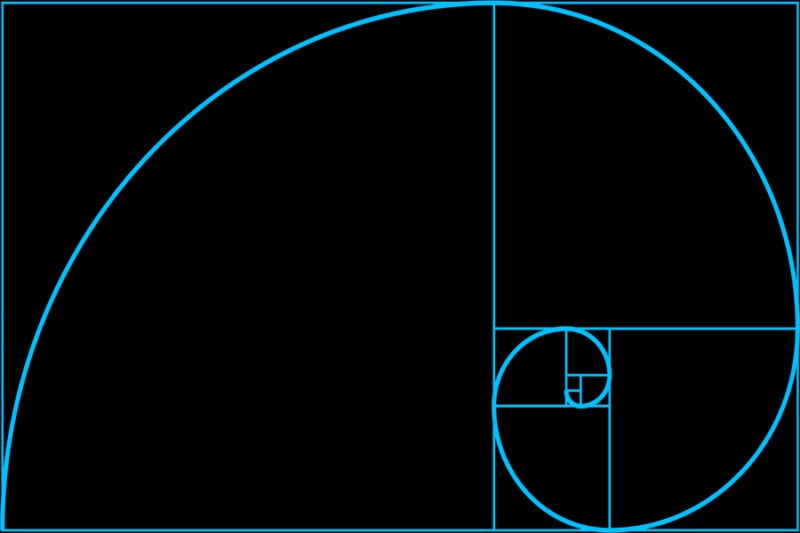 Looks kind of fun, a tight coil ending up off centre and providing a great host of lines to align your picture up to.
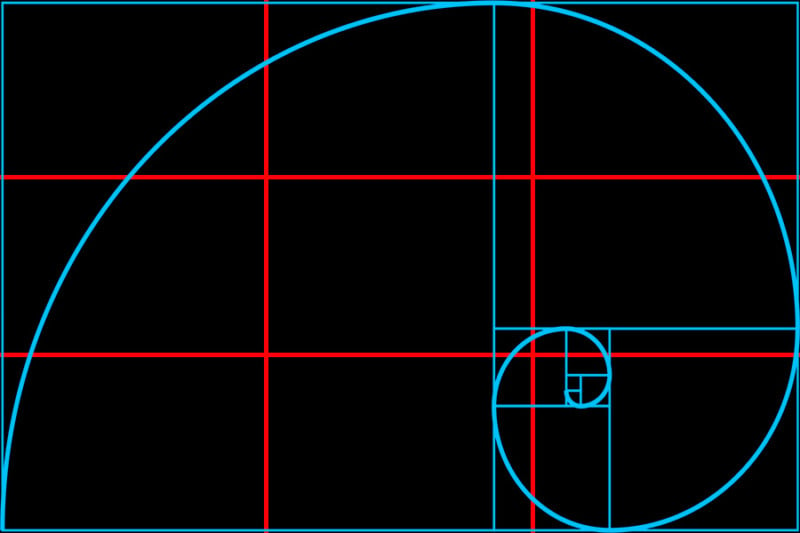 The lower right intersection of the red lines is pretty close to the tight curl of the spiral.
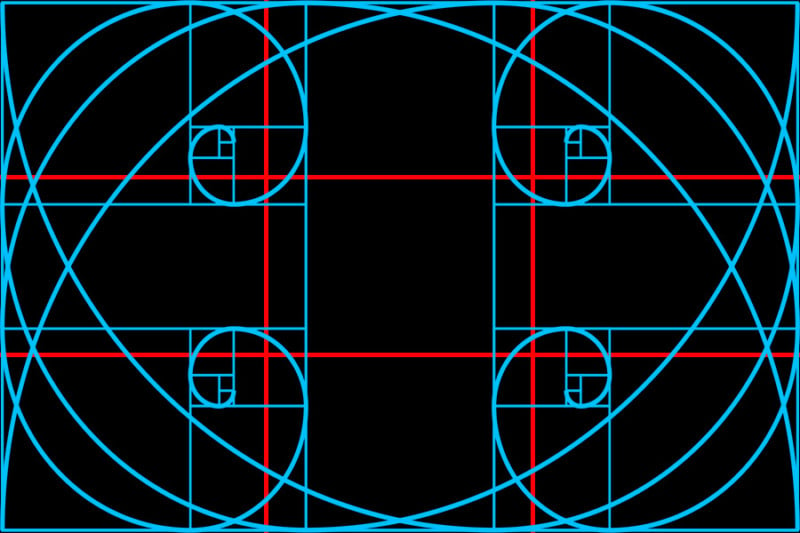 Here’s the reason they don’t put the spiral as an overlay on your camera. The spiral in just four of its eight possible orientations.
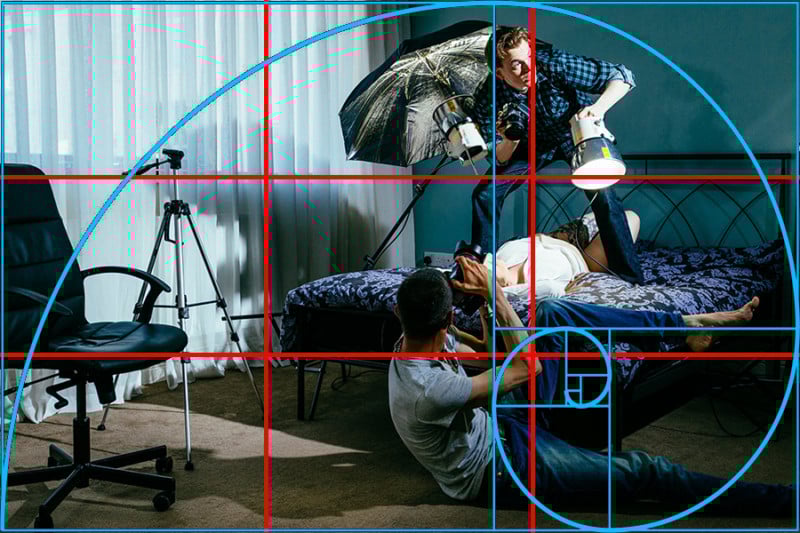
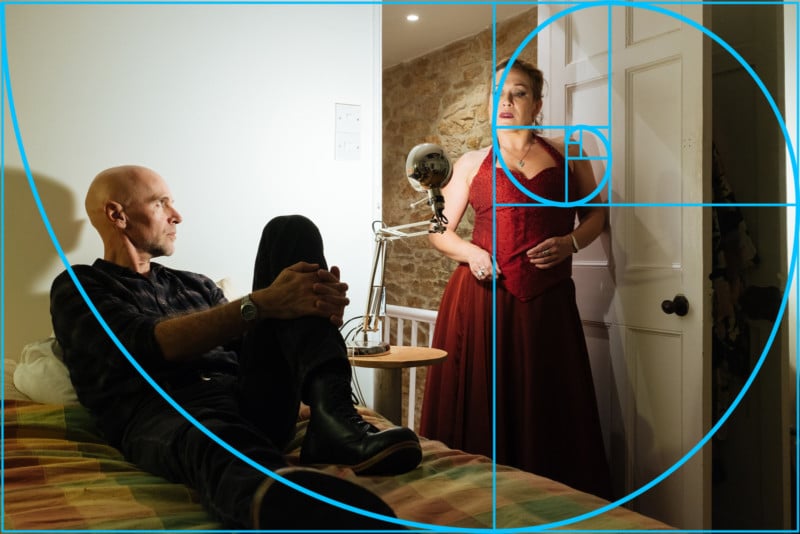 The line follows the body shape of the man on the bed and finishes at the woman’s stare.
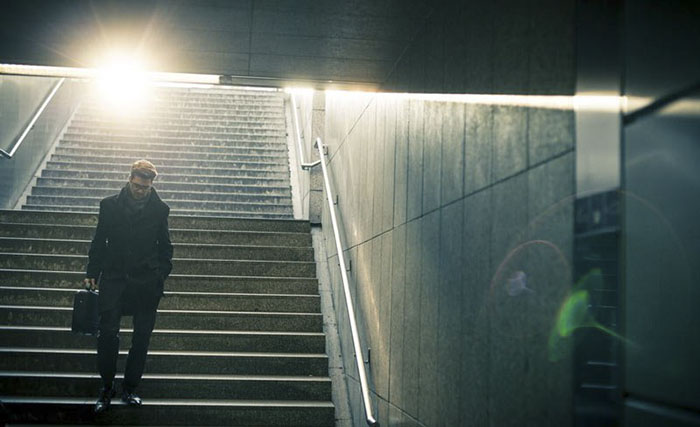
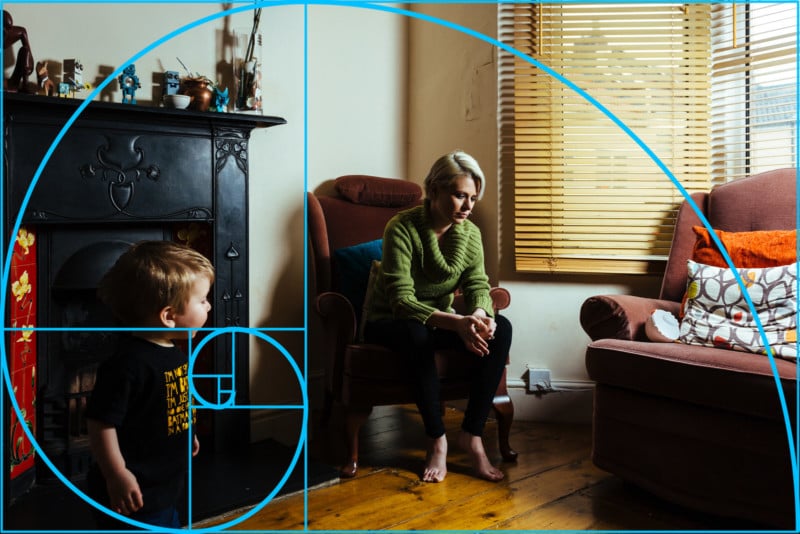 This image focuses on the child, dominating the image in the foreground, larger than the adult mother.
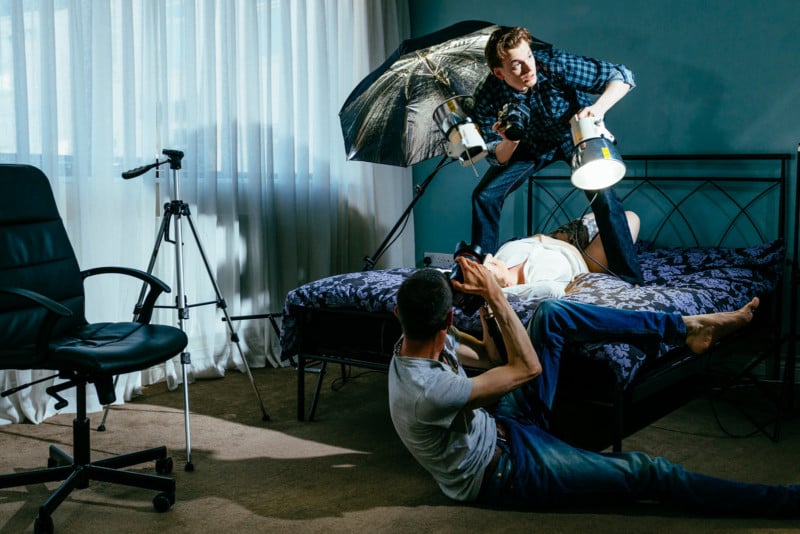
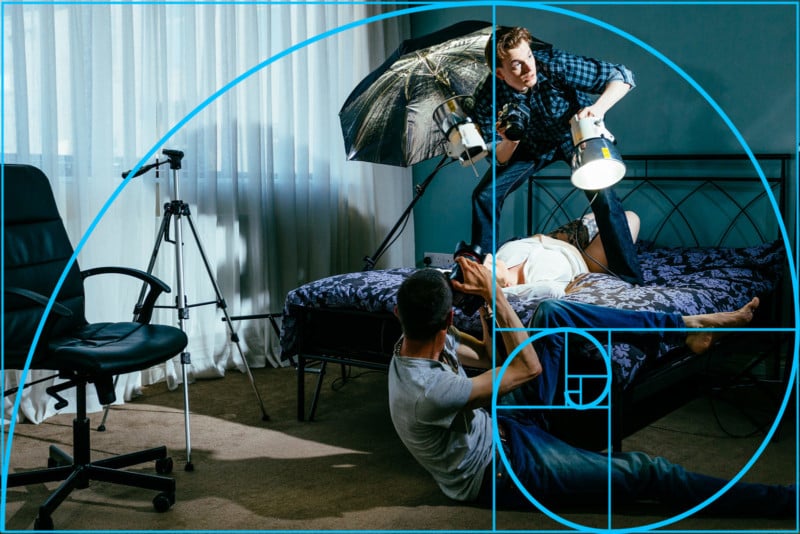 This time the spiral passes through background objects like the chair and tripod, around the lighting and on to the crook of the leg of the photographer on the floor.
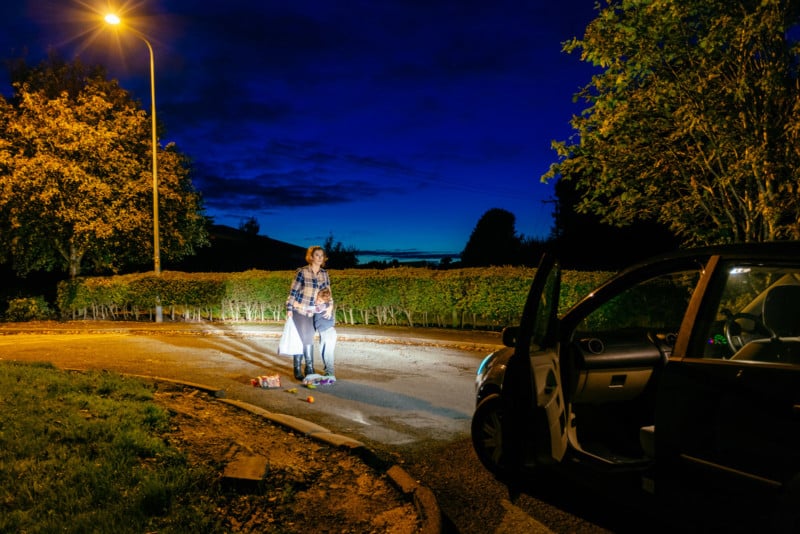
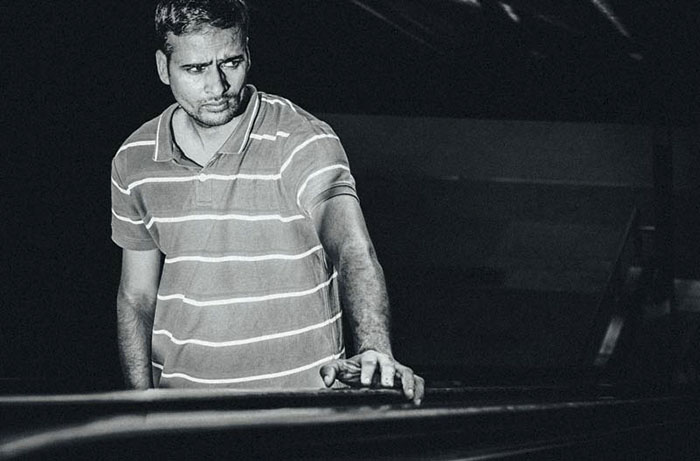
 The focus is pulled towards the car’s open door, making the viewer ask the question “why?”