An online collection of links, articles and websites relevant to the teaching of Media and Cinema Studies in the 21st Century. Designed with the needs of the contemporary student in mind, this blog is intended to be a resource for teachers and students of the media alike.
Thursday, 8 June 2017
Useful: a cheatsheet for critical thinking
When you encounter new information, here's a list of questions to ask yourself and others. It was produced by the Global Digital Citizen Foundation, "a non-profit organisation dedicated to cultivating responsible, ethical, global citizens for a digital world."

[via]

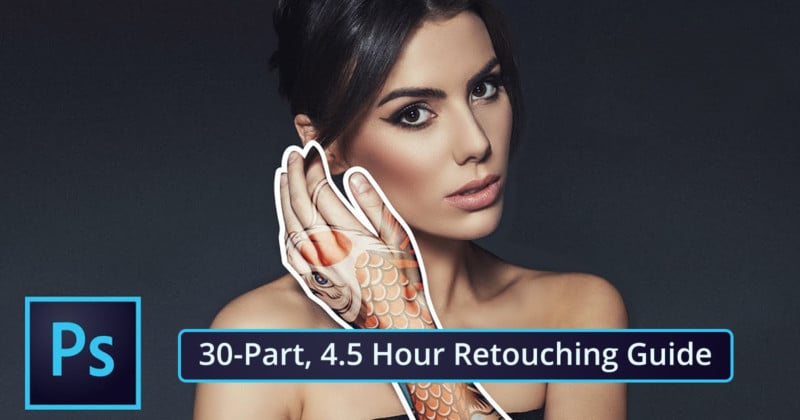
A Massive 30-Part Guide to Retouching Photos in Photoshop
Originally posted on PetaPixel by Jayphen Simpson
Visit the original site with links to the tutorials here:

Want a crash course in retouching photos in Photoshop? Here’s a 4-part video series that clocks in at 4.5 hours in total, making it a very comprehensive guide. There’s something here for everyone — even the most experienced photographers are sure to learn something from the series.
Nathaniel Dodson from tutvid goes over a total of 30 techniques from healing skin blemishes to creating skin texture, replacing skies, puppet warping, and even swapping out faces.
Photoshop is a very powerful piece of software, and it seems that no matter how long you’ve been using it for there’s always something new to learn. It’s always important to understand the tools that you’re working with, so this free series is an excellent way to boost your skill set.
Thankfully, Dodson has provided a full breakdown of the topics covered in the videos. We’ve included the videos below, along with timestamps matching the corresponding moment in each video.
Part One
(via tutvid via Fstoppers)
Visit the original site with links to the tutorials here:
Want a crash course in retouching photos in Photoshop? Here’s a 4-part video series that clocks in at 4.5 hours in total, making it a very comprehensive guide. There’s something here for everyone — even the most experienced photographers are sure to learn something from the series.
Nathaniel Dodson from tutvid goes over a total of 30 techniques from healing skin blemishes to creating skin texture, replacing skies, puppet warping, and even swapping out faces.
Photoshop is a very powerful piece of software, and it seems that no matter how long you’ve been using it for there’s always something new to learn. It’s always important to understand the tools that you’re working with, so this free series is an excellent way to boost your skill set.
Thankfully, Dodson has provided a full breakdown of the topics covered in the videos. We’ve included the videos below, along with timestamps matching the corresponding moment in each video.
Part One
- 01:28: Editing ANY Photo in the Camera RAW Editor
- 07:51: 8-bit vs. 16-bit Images
- 14:59: Lens Correction and the Transform Tool
- 19:02: White Balance and Chromatic Aberration Corrections
- 22:59: Slimming a Figure with Liquify
- 30:59: Healing Skin Blemishes
- 35:46: Get Rid of Flyaway Hairs
- 38:35: Making Simple and Complex Selections with Select Mask
- 47:17: The Power of Adjustment Layers
Part Two
- 01:24: All About Levels
- 07:59: All About Curves
- 15:18: Blend Modes
- 19:56: Masking!
- 25:56: Retouching Eyes
- 29:49: Whitening Teeth
- 32:03: Changing Hair Color
- 37:14: Frequency Separation for Better Skin
- 44:37: Creating Skin Texture to Add Detail
- 01:00: Reduce and remove wrinkles
- 02:41: Getting started with the healing brush
- 06:32: Dodging and Burning
- 07:58: How to do the burning
- 13:00: How to do the dodging
- 14:22: Double dodge and burn trick
- 15:48: Quick dodge/burn effect
- 18:47: How to Add a Tattoo Realistically
- 23:33: Masking the tattoo in place
- 27:06: Using adjustments to blend the tattoo
- 30:04: Blurring the tattoo to match
- 35:43: Select and Replace a Sky with Luminosity/Channel Masks
- 38:38: Using levels to get the perfect selection
- 42:44: Replacing the sky and watching the magic happen
- 45:02: Color Correction Techniques
- 45:28: Curves for quick corrections
- 49:58: Targeting and Changing Individual Colors
- 52:56: Correcting sunburn by targeting the reds
- 54:32: Four Ways to Create a Black and White Photo
- 01:00:03: Creating a Basic Composite Image and Blending Colors
- 01:14:26: Puppet Warp to Change a Person’s Figureo
- 01:00:03: Creating a Basic Composite Image and Blending Colors
- 01:14:26: Puppet Warp to Change a Person’s Figure
- 01:00: Content-Aware Everything!
- 12:42: Smart Filters
- 18:04: Replacing/Swapping a Face
- 25:34: Smooth Wrinkles from Clothing
- 29:41: Color Grading
- 34:03: Colorize a Black and White Photo
- 44:34: Extreme Lens Correction
- 51:55: Lens Flares and Light Leaks
- 58:32: Global and Selective Sharpening
- 01:05:49: Cropping, Resizing and Saving Photos
(via tutvid via Fstoppers)
5-Minute Tutorial Reveals How To Make Boring Photos Look Awesome
Original posted on Bored Panda by Andrius
There are a tonne of bad photos online and it’s mostly because people simply can’t be bothered with editing. But as this tutorial shows, you don’t need to sink a tonne of time into a single image, all it takes is just 5 minutes!
The guy behind this tutorial is the landscape and fine art photographer YuriFineart, who proves that only 5 minutes spent with a raw photo can make all the difference.
Yuri explains how to utilise split toning, saturation, as well as graduated and radial filters.
And he even gives insights on the ways in which more experienced photographers edit their work, so not only the beginners could get something out of it.
Subscribe to:
Comments (Atom)